
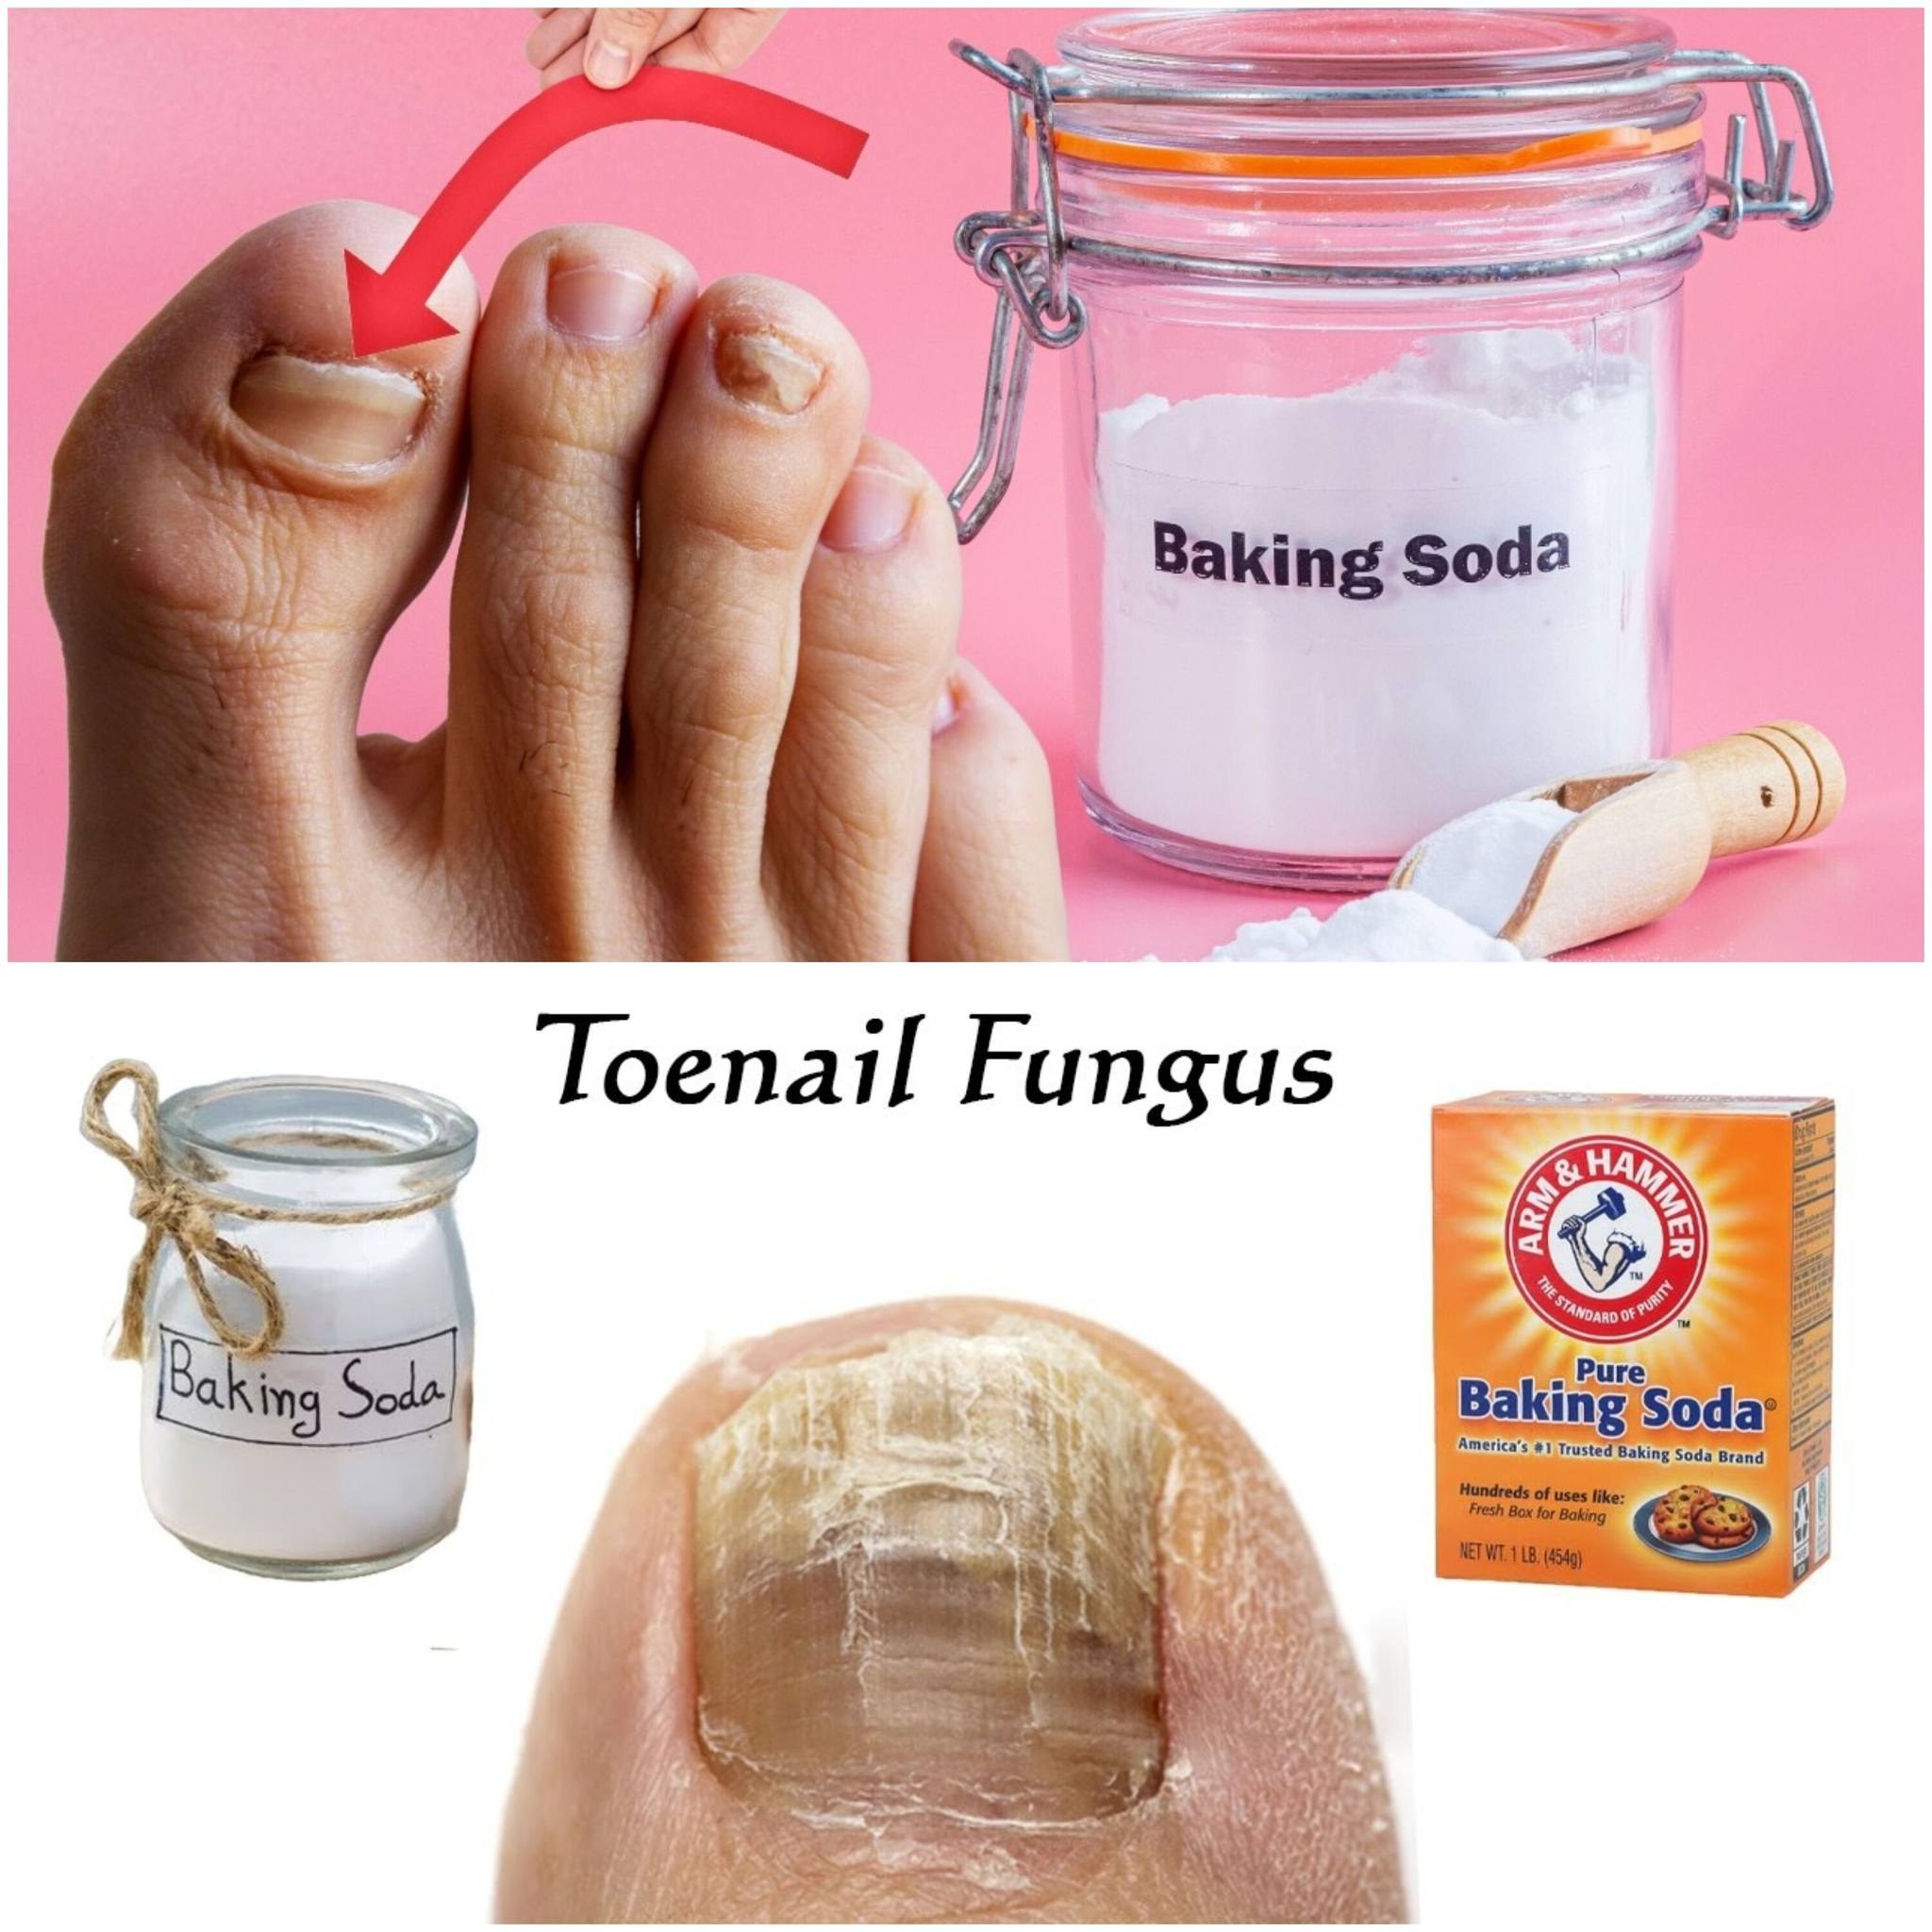
Dealing with toenail fungus can be frustrating, but there’s a simple, all-natural solution that might be sitting in your kitchen right now: baking soda! This common household ingredient has powerful properties that can help you get rid of that pesky fungus for good. Let’s dive into how you can use baking soda to restore your nails to their healthy state.
Why Baking Soda Works
Baking soda, or sodium bicarbonate, is not just for baking. It has antifungal properties that make it an effective treatment for toenail fungus. Its alkaline nature helps to create an environment that is inhospitable for the fungus to grow. Additionally, baking soda can help absorb moisture, which is crucial because fungus thrives in moist conditions.
What You’ll Need
To create your natural remedy, you’ll need just a few simple ingredients:
- Baking soda
- Water
- A bowl
- A small brush or cotton swabs
Step-by-Step Guide to Using Baking Soda
- Create a Paste: Mix baking soda with a small amount of water to form a thick paste. You want it to be the consistency of toothpaste.
- Clean the Area: Before applying the paste, make sure your feet are clean and dry. This helps ensure that the treatment can penetrate effectively.
- Apply the Paste: Use a small brush or cotton swab to apply the baking soda paste directly onto the affected toenail. Make sure to cover the entire nail and get under the edge if possible.
- Let It Sit: Allow the paste to sit on your toenail for about 10-15 minutes. This gives the baking soda time to work on the fungus.
- Rinse and Dry: After the time is up, rinse your foot with warm water and dry it thoroughly. Moisture can promote fungus growth, so it’s important to keep the area as dry as possible.
- Repeat: For best results, repeat this process twice a day – once in the morning and once in the evening.
Read more in the next page
ADVERTISEMENT
