
Nail fungus, also called onychomycosis, is a tough and unattractive problem that can harm the look and health of your nails. Luckily, you can naturally treat nail fungus using a common ingredient found in your kitchen: vinegar. Vinegar is famous for its ability to fight fungus, which makes it a good and inexpensive treatment for nail fungus. Here is how to use vinegar to naturally make your nails healthy and shiny.
The Reason Behind Vinegar’s Effectiveness
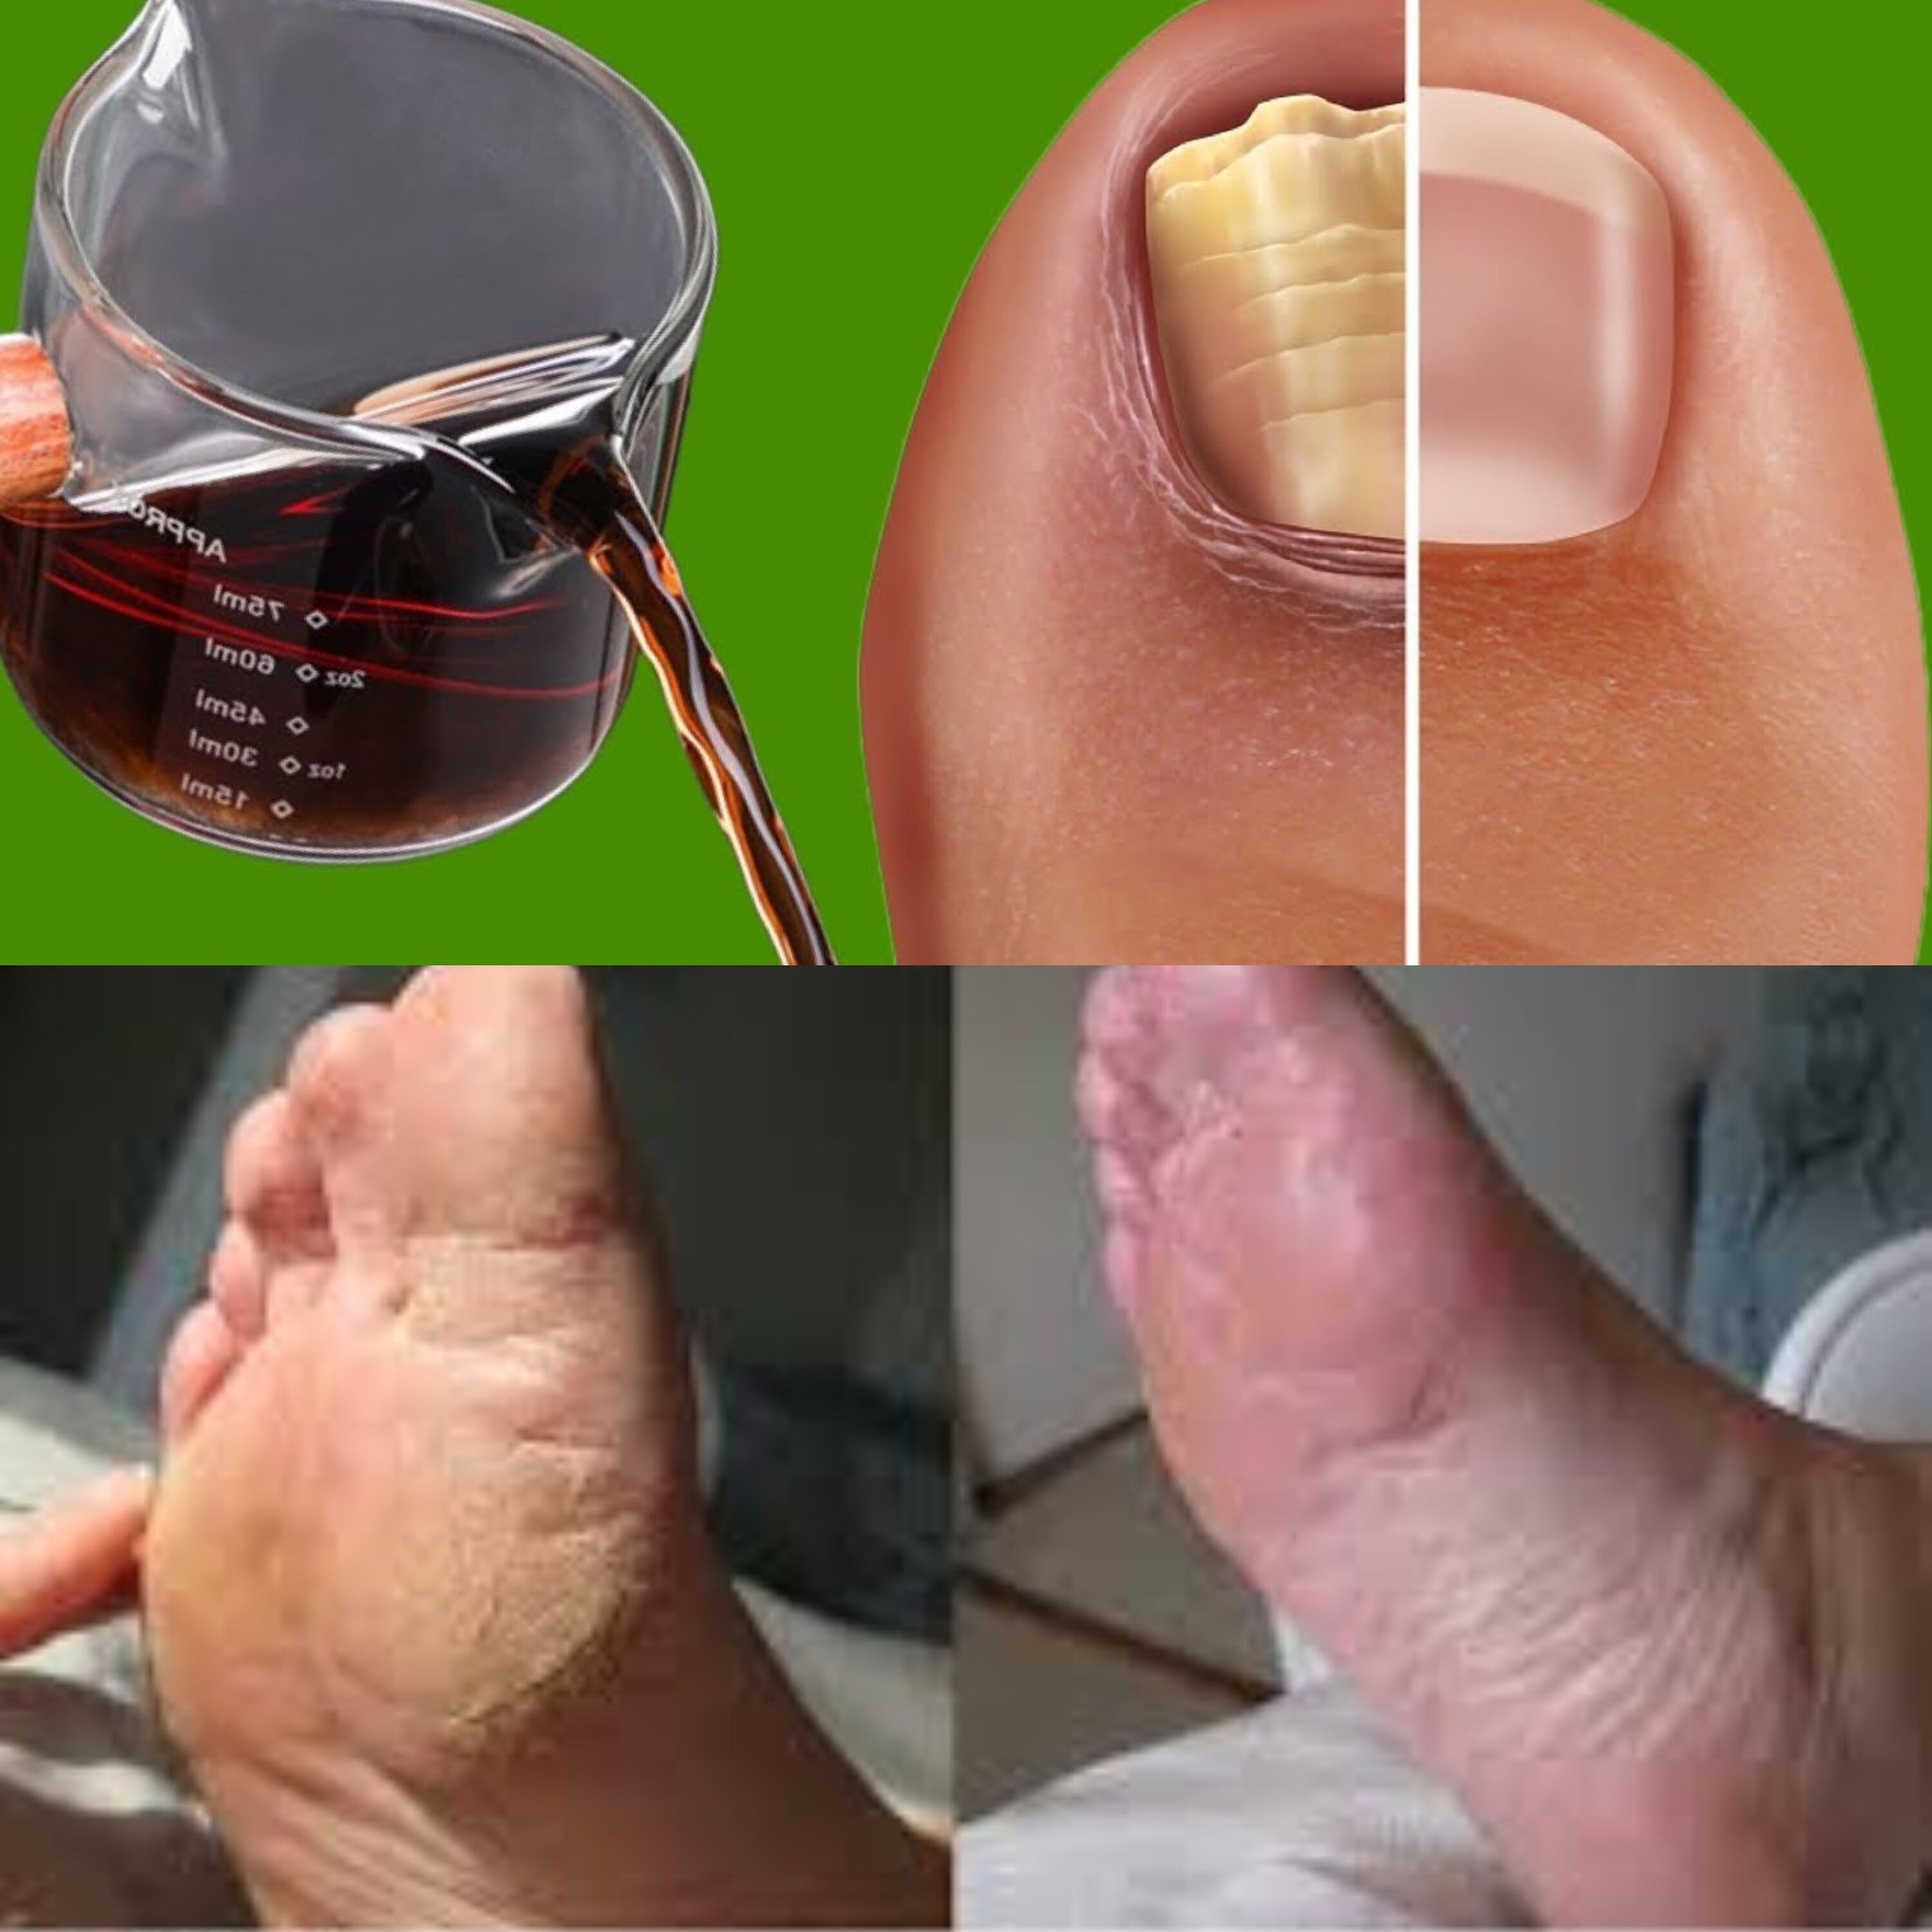
Vinegar, like white vinegar and apple cider vinegar, has acetic acid that can fight fungus, bacteria, and germs. This helps to make the nails acidic, which stops fungus and bacteria from growing on them. Using vinegar regularly can help get rid of the fungus and improve the health and look of your nails.
How to Use Vinegar for Treating Nail Fungus Would you like to know how to use vinegar to treat nail fungus?
1. Soaking in vinegar. Ingredients:
1 cup of white vinegar or apple cider vinegar
2 cups of water that is not cold
A big bowl or basin for soaking your feet or hands.
Steps to follow:
Make the Soak: In a bowl, combine 1 cup of vinegar with 2 cups of warm water. If you want to cover your nails completely, keep the ratio of vinegar to water at 1:2.
Soak your nails in the vinegar mix for 15 to 20 minutes. The hot water makes the nails and skin softer, so the vinegar can work better.
Rinse and Dry: After soaking, wash your nails with water and dry them well with a towel. It is essential to thoroughly dry your nails because dampness can cause fungus to grow.
Do this soak once or twice a day until the infection goes away. This could take a few weeks, depending on how bad the fungus is.
2. Paste made of Vinegar and Baking Soda Ingredients:
2 tablespoons of white vinegar or apple cider vinegar
2 tablespoons of baking soda
A little bowl
Read more in the next page
ADVERTISEMENT
